If you surf, chances are that you’ve thought about painting your surfboard. But where do you start? What paint should I use? Which design is going to be best for the water and waves? Well, don’t worry! We’re here to help. Painting a surfboard is one of the fun things that come with a little effort. You just have to choose which paint works well with water and what design would you like to design. With these tips, we hope that painting your board will no longer be an intimidating task!
Table of Contents
1. Clean the board with mild soap and water
The first thing you need to do before painting a surfboard is to clean it. This will remove any dirt and grime that the board has accumulated on its surface from being out in the ocean or saltwater pool, which would affect your paint job if you skip this step!
- Use soap and warm water
- Scrub the board with an abrasive sponge (mild dish detergent)
- Rinse off all soap residue by dipping it into freshwater or running it through a hose
The next thing you should do is sand down the painted parts of your surfboard. If you’re painting over old paint then some light sanding may be needed, but more than likely not much at all. Sandpaper can work well for surfaces below the waterline, but for the more delicate surfboard paint job surface, you’ll need to use a fine-grit sanding sponge.
If your board is new and has never been painted before, then this step may be unnecessary depending on how it was manufactured. New surfboards are usually made with fiberglass or epoxy resin which do not require painting as they’re already durable surfaces when dry.
The last thing that you should do after cleaning and sanding down old paint jobs of your surfboard is to give it one final rinse in fresh water to remove any traces of soap residue from any previous washings!
This will make sure that no “fuzz” remains near the edges where dirt can accumulate once again while surfing!
2. Use an electric sander to remove any rough spots on the surface of the board
These steps are more important when painting surfboards that have been previously painted.
The first thing you want to do is cover the whole surface of the board with a sanding sponge or something equally soft; this will ensure that it doesn’t become scratched by any rough spots!
You should then use an electric sander to remove all bumps on the paint and even out inconsistencies in color. You may need to go back over some areas more than once if they’re still too bumpy, but be careful not to take off so much material that your surfboard’s shape becomes distorted. Remember, boards, are usually cylindrical shapes that can only turn into other shapes through additional work after shaping them from their original form!
If you find yourself needing more paint, either for a design or just to cover the board more evenly, you can use acrylic paint mixed with water. That way it’s easier on your skin and won’t dry out as quickly!
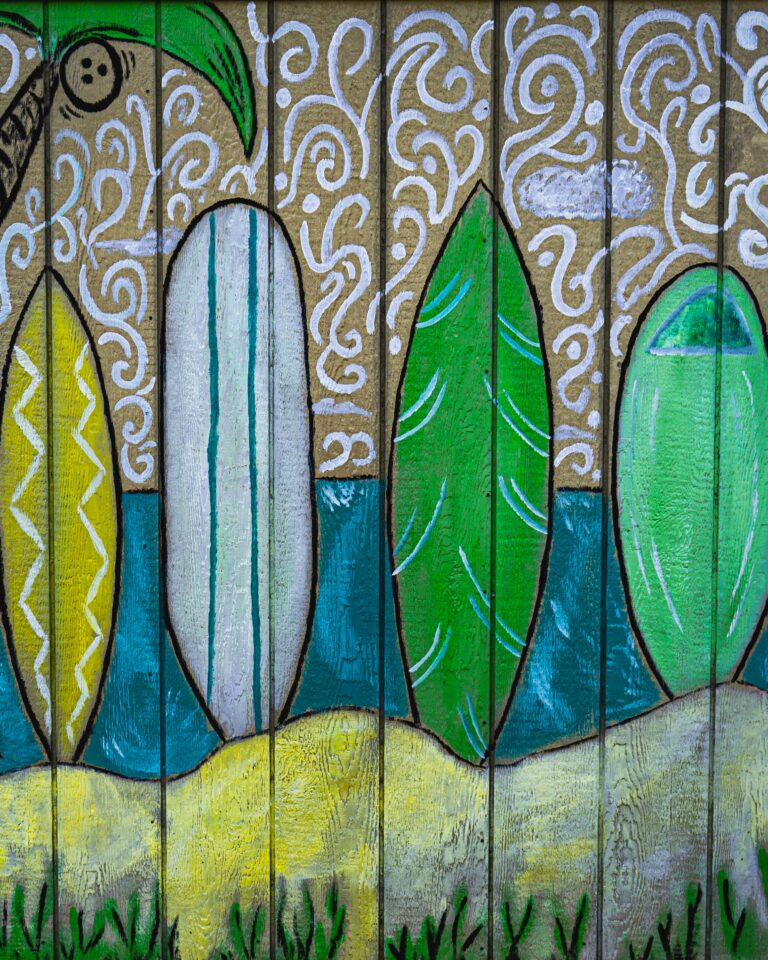
If some people are in need of an assist painting their surfboard but don’t know where to start, they should consider looking at other boards that have been previously painted for inspiration. There is always something new and cool about surfing these days; there may be patterns like zig-zags across the whole surface of a surfboard or one solid color over all parts of it so choose what suits not only your tastes but also current trends!
3. Apply primer to seal in color and protect against moisture damage
There are a variety of surfboard paint colors that can be used. When painting your board, you should try to match the color as much as possible with what it is now so there’s no need to repaint again in just a few months or years!
To make sure paints last longer and do not get damaged by water exposure, seal them on your surfboards using a primer before applying any other coatings. If needed, apply more than one layer of each type of coating (primer and topcoat) for best results!
Additionally, if you want to use multiple colors on the same surfboard, save some time by painting certain parts first then let them dry before coming back later for other sections. This will also prevent colors from mixing, so the design will be more defined.
4. Paint your design onto the surfboard using a paintbrush or roller, then let it dry for 24 hours before you use it again!
Painting your design on a surfboard can take a bit of patience and effort, but it can be well worth the outcome. It also depends on which surfboard paint you use! One type is semi-gloss paint for painting surfboards because they are water-resistant and endure light to moderate impact. You have to wait for 24 hours before using the surfboard again after applying this coat of paint.
Another option would be acrylic paints that dry quickly so there’s not much waiting around between coats. However, these types of paints do require sanding down the surface first if it’s been previously painted or sealed with polyurethane – as soon as possible afterward too in order to prevent any corrosion from happening over time.
Use a paintbrush or roller to paint the design onto the surfboards. Let it dry for 24 hours before using it again!
Expert tip: A few months or years! – if you want paints to last longer and don’t get damaged by water exposure, seal them with a primer coat before applying any other coats (primers & topcoats). If needed apply more than one layer of each type of coating for best results!
5. Spray-paint designs onto your surfboard – this is less time-consuming than painting them on by hand!
- You can paint your surfboard in any color you want and make a design.
- Make sure to use the right type of spray paint, depending on what surface (paint) you are painting onto.
- Spray paints come in many colors so don’t feel restricted by white! And they’re always fun for kids or adults alike because it’s easy to create something new with each coat.
The best thing about these paints is that once dry, their vibrant shades will last much longer than regular chalk pastels which fade over time. These types of surfaces also work well if you like to keep your board looking sleek and polished since there aren’t any brush strokes visible after painting them on. Spray-paint your surfboard in a fun color and design to make it stand out!
Choose the paint that will work well with water. There are many different types of paints, so you’ll have to experiment on your own to see which works best for you. Sometimes acrylics can be used as surfboard paint because they dry fast when applied over wet surfboards.
Make sure not to use latex or oil-based paints because these would ruin the integrity of your board’s surface. For instance, if there is any moisture accumulated within the cracks between fiberglass boards; then this type of paint could seep through into those spaces and cause damage. Acrylics work really well since they’re able to stick onto uneven surfaces as opposed to smooth.
6. Make sure that you sand off any excess paint from your design after spraying so that it doesn’t peel off later when you’re surfing!
Sanding off the excess paints is a key step in painting surfboards. The paint will not stick to the surface when it is being washed and this can cause peeling later on, which increases the chances of chipping off. In addition, sanding will give you an even finish so that your design looks better after painting.
This is the last step in painting surfboards. It’s the crucial step in making sure that your design won’t be destroyed by water later on, which is also a key point to consider when choosing paint and designs for surfboards.
After sanding, make sure to paint the surfboard again. This will give it a protective coat and ensure that your design is well-protected from water too!
The Bottom Line
Painting your own surfboard may seem like a daunting task, but the rewards are worth it. Whether you want to go for an artsy design or something more subtle, there is no wrong way to paint a board and experiment with different colors until you find one that works well – we’ve got some tips on how to do so! Don’t be discouraged by the idea of painting because, in the end, this will become yet another thing that makes your board unique and personal. And believe us when we say this- if you’re spending money on a new board anyway, why not make sure it’s personalized? (Paint can also help extend its life.) What color would you choose for your next surfing experience?